Floridaseeds
Mexican Redbud Cercis canadensis var. mexicana 20 Seeds 1 Gram USA Company
Mexican Redbud Cercis canadensis var. mexicana 20 Seeds 1 Gram USA Company
Couldn't load pickup availability
Cercis canadensis var. mexicana, commonly known as the Mexican redbud, is a variety of the Eastern Redbud tree, Cercis canadensis. Here are some key points about this tree:
Description
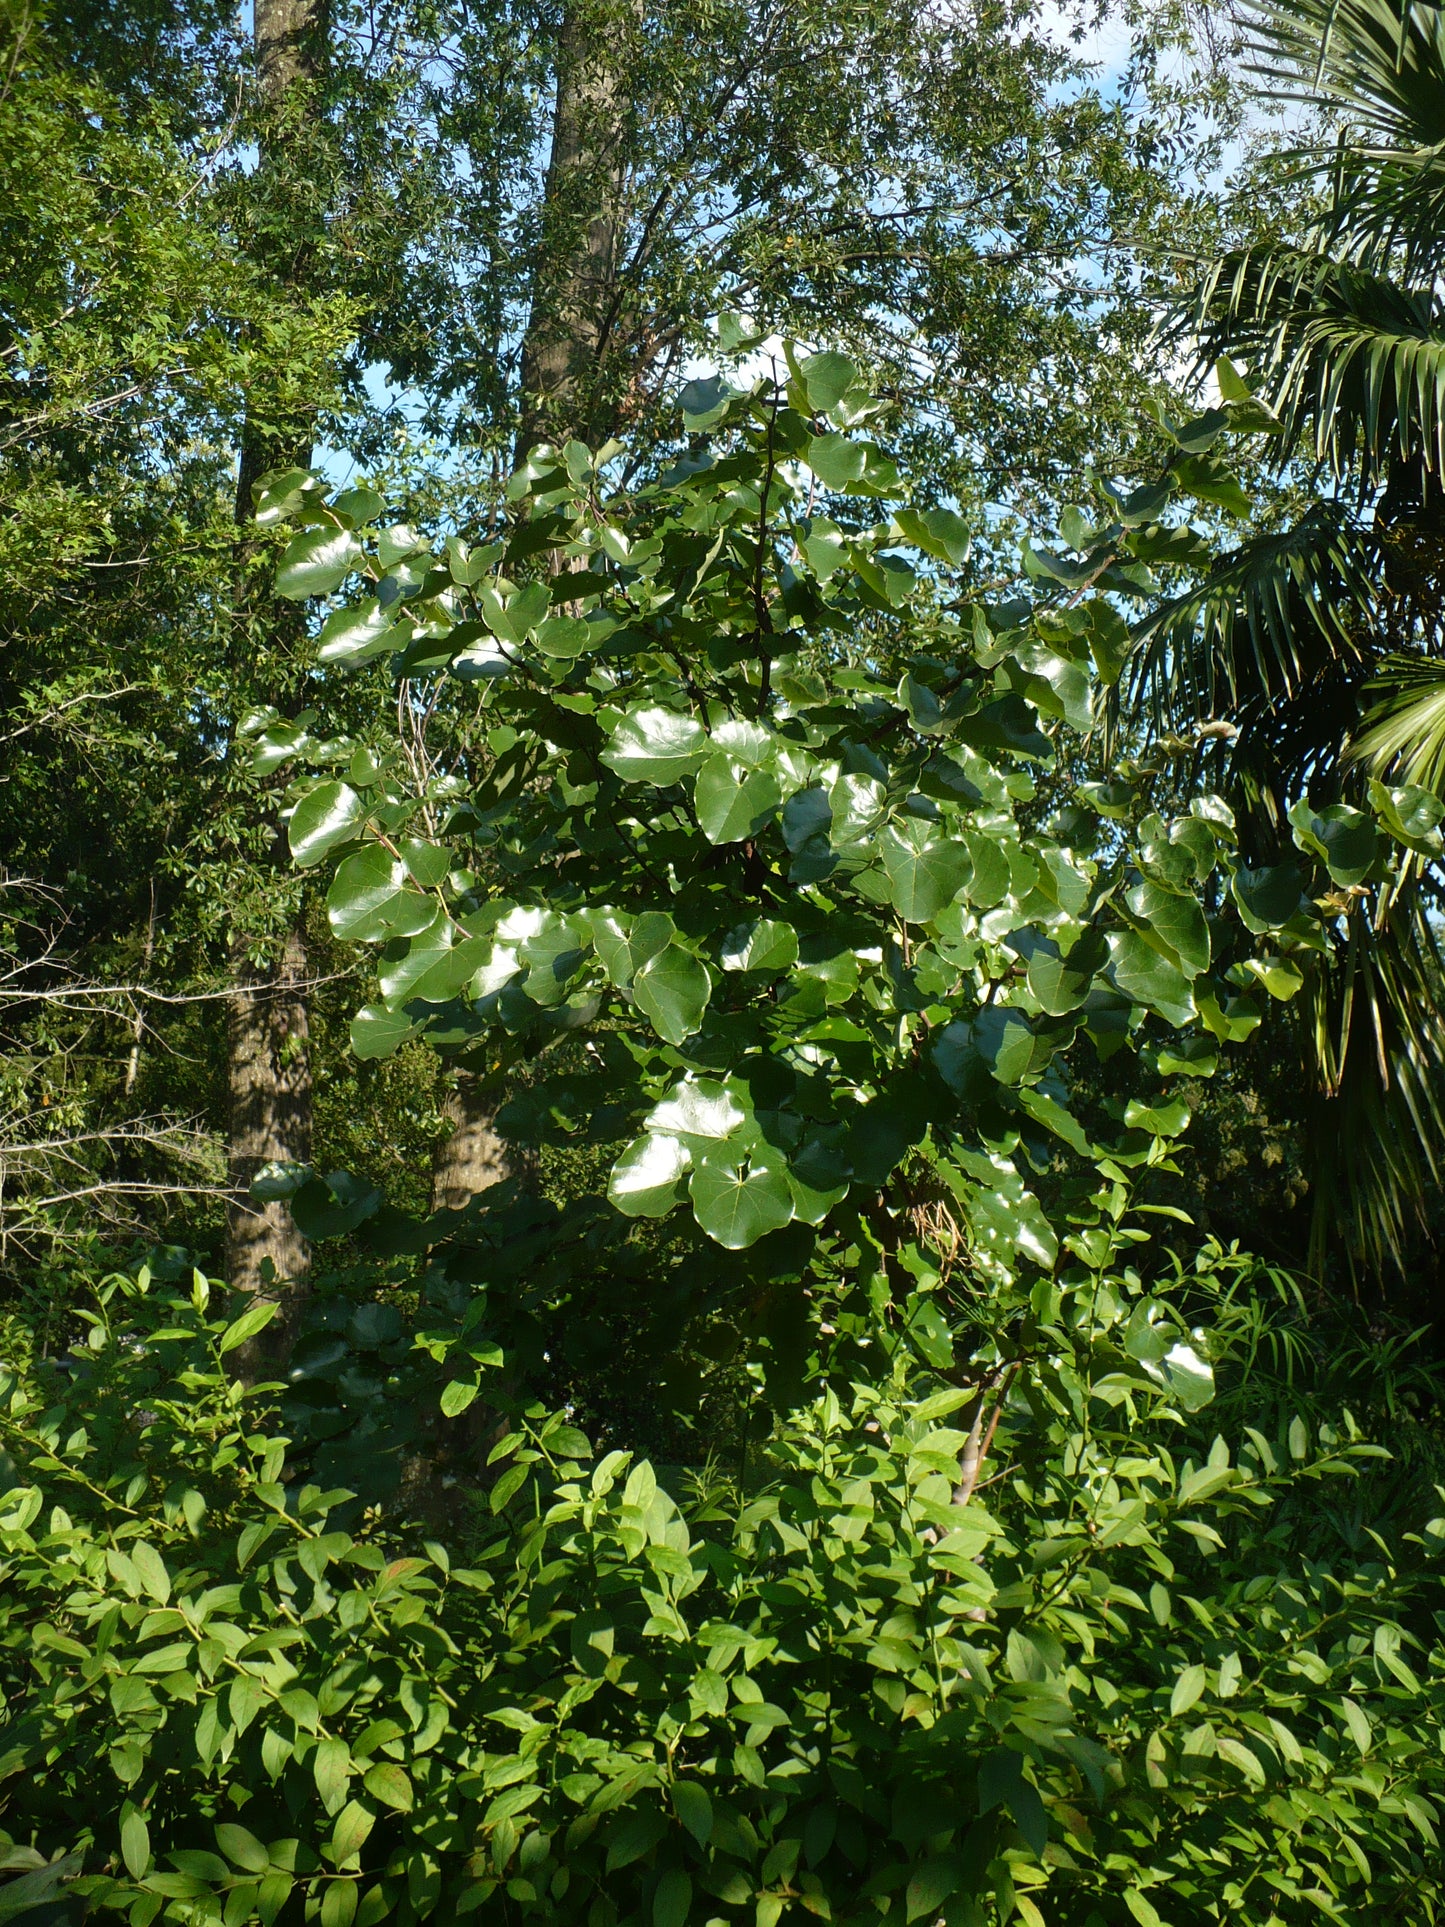
Foliage: The leaves of the Mexican redbud are smaller and often more glossy than those of the typical Eastern Redbud. They are heart-shaped, similar to other redbud varieties.
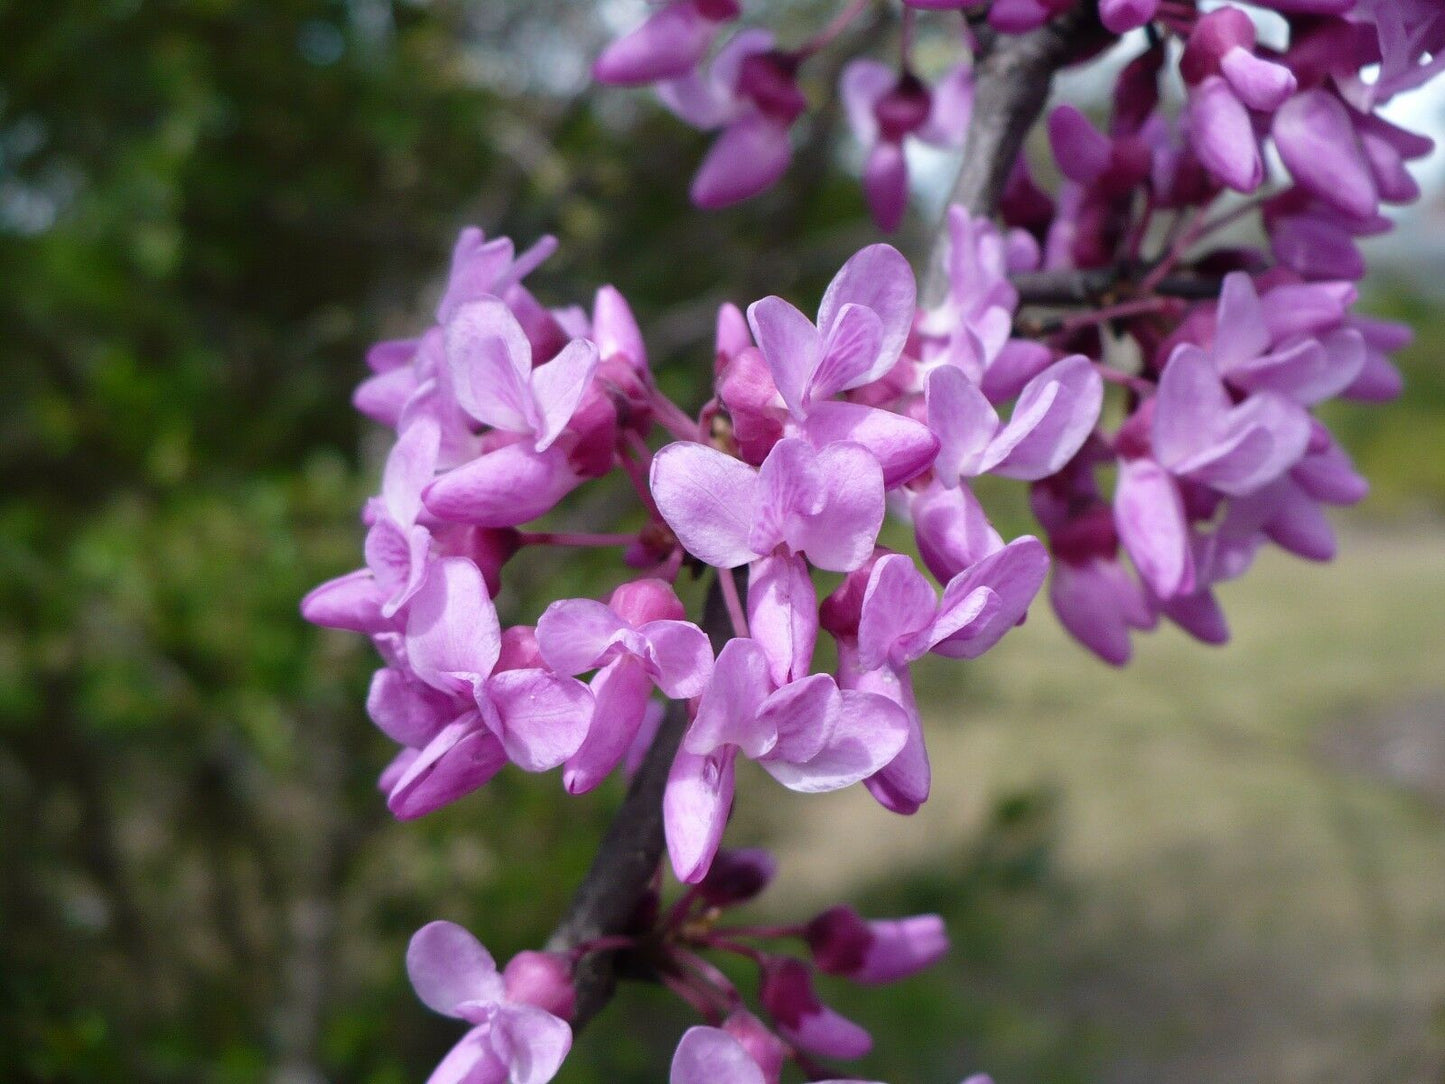
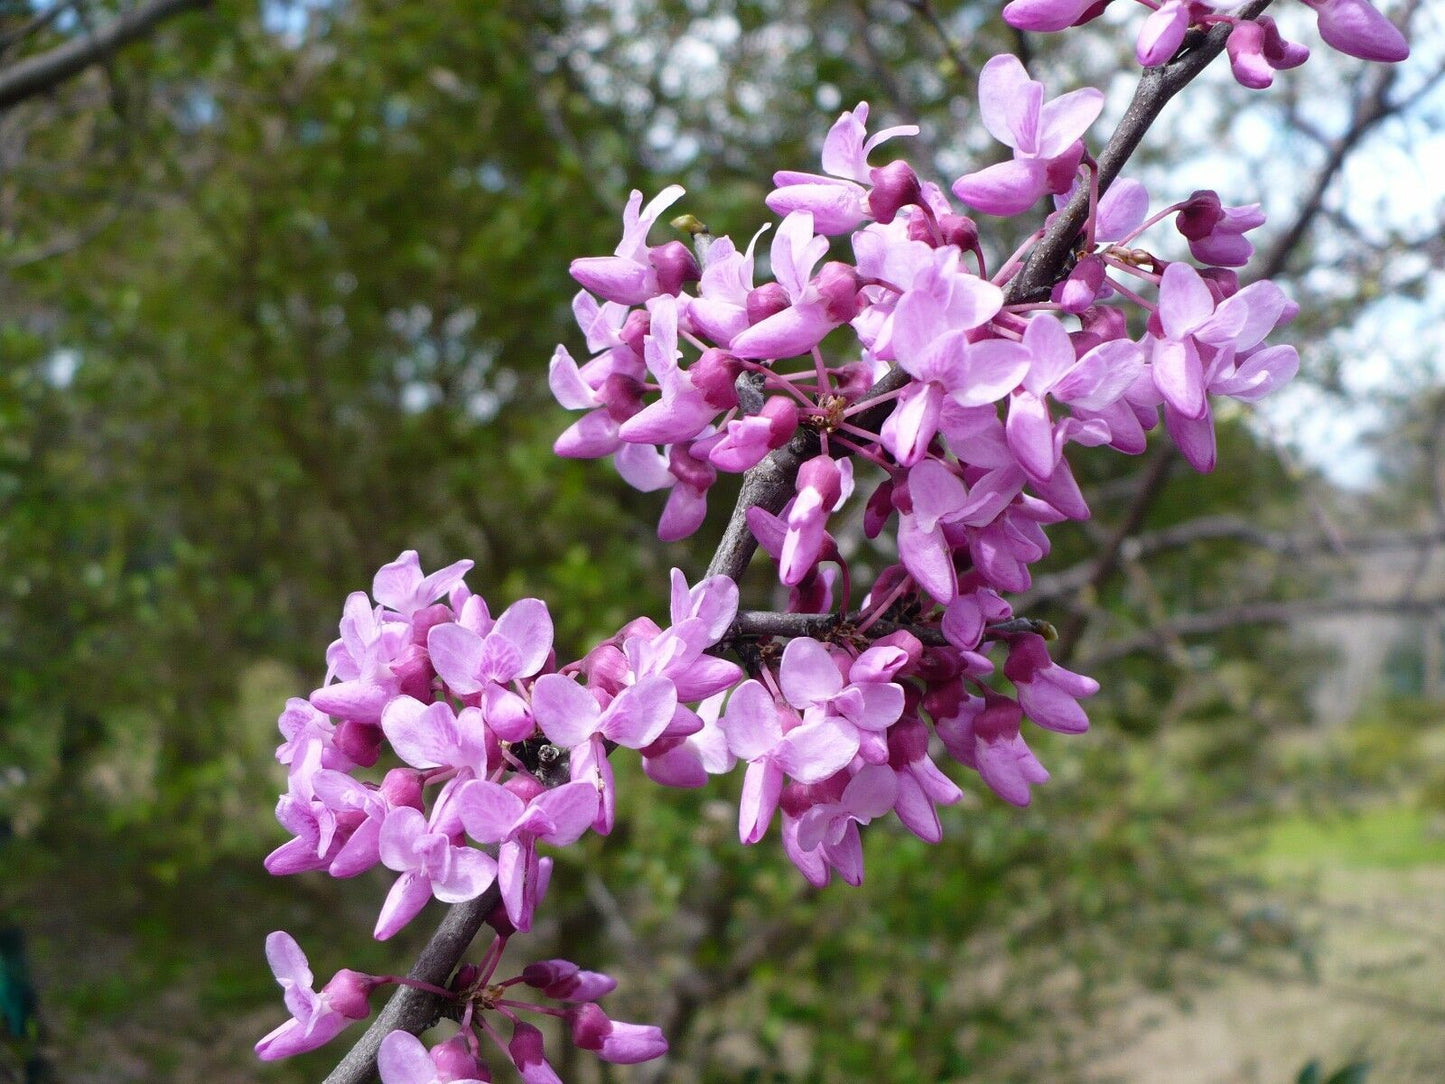
Flowers: In early spring, it produces clusters of small, pink to magenta flowers that appear on bare branches before the leaves emerge. These flowers are characteristic of the Cercis genus.
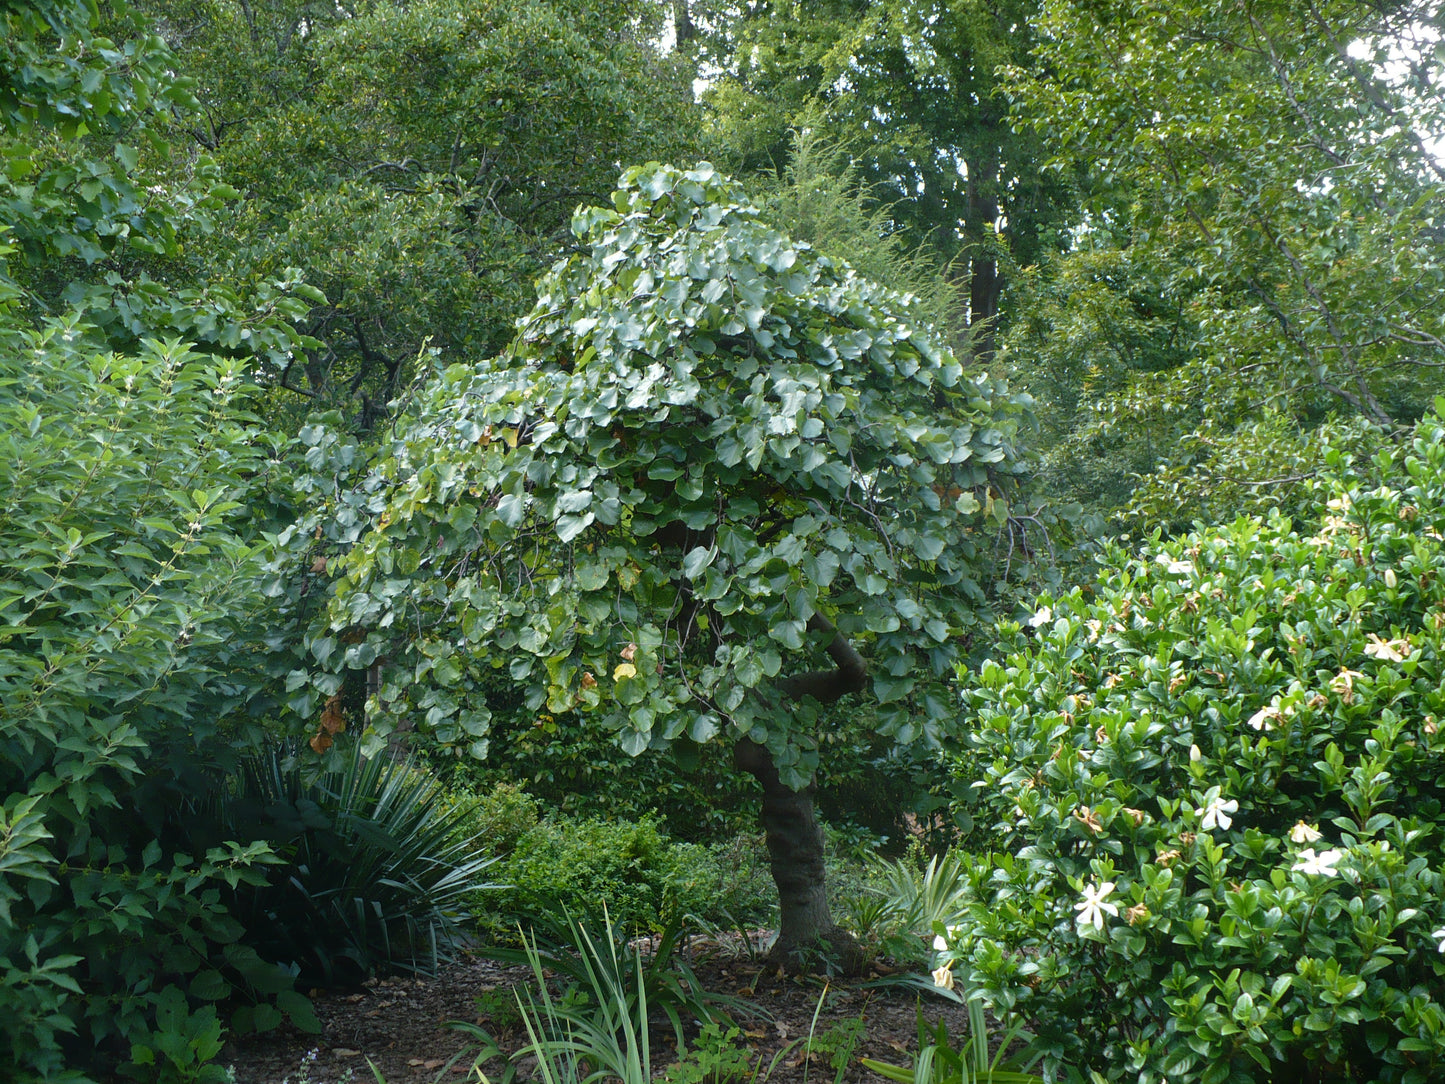
Size: This variety tends to be smaller than the typical Eastern Redbud, often growing as a large shrub or small tree, reaching heights of around 10-15 feet.
Bark: The bark is smooth and gray-brown in color, becoming more furrowed with age.
Habitat and Growth Conditions
Native Range: The Mexican redbud is native to northern Mexico and parts of Texas.
Soil: It prefers well-drained soils but is adaptable to a variety of soil types, including clay and sandy soils.
Sunlight: This tree thrives in full sun to partial shade.
Water: It is relatively drought-tolerant once established, making it a good choice for xeriscaping and low-water gardens.
Landscape Use
Ornamental Value: The Mexican redbud is valued for its striking early spring flowers and attractive foliage, making it a popular ornamental tree in landscapes and gardens.
Wildlife: The flowers attract bees and other pollinators, while the seeds are eaten by birds.
Growing Instructions for the Mexican Redbud
The seeds have a period of dormancy. They can be planted outdoors in the fall or winter for spring germination or they can be cold stratified to simulate winter conditions and to break their dormancy at any time of the year. 1. Scarify the seeds by nicking or sanding the seed coat. The seeds can be sanded with sandpaper, a nail file or an emery board. 2. Soak the seeds in water for several hours. 3. Put the seeds in a ziplock bag. 4. Put the bag in the refrigerator and leave it there for 3 months. 5. The seeds like moist, well-drained soil. Prepare a mixture of half potting soil and half sand, perlite or vermiculite. Put the soil in a pot. 6. Sow the seeds on the soil. 7. Cover the seeds with a thin layer of soil. 8. Water the soil so that it is moist but not wet. 9. When the seedlings are a few inches tall, they can be transplanted.
Materials
Materials
Shipping & Returns
Shipping & Returns
Dimensions
Dimensions
Care Instructions
Care Instructions
Share


