


Floridaseeds
Texas Redbud 10 Seeds Cercis canadensis var. texensis
Texas Redbud 10 Seeds Cercis canadensis var. texensis
Couldn't load pickup availability
Cercis canadensis var. texensis, commonly known as the Texas Redbud, is a variety of the Eastern Redbud (Cercis canadensis). Here are some key details about this plant:
Description
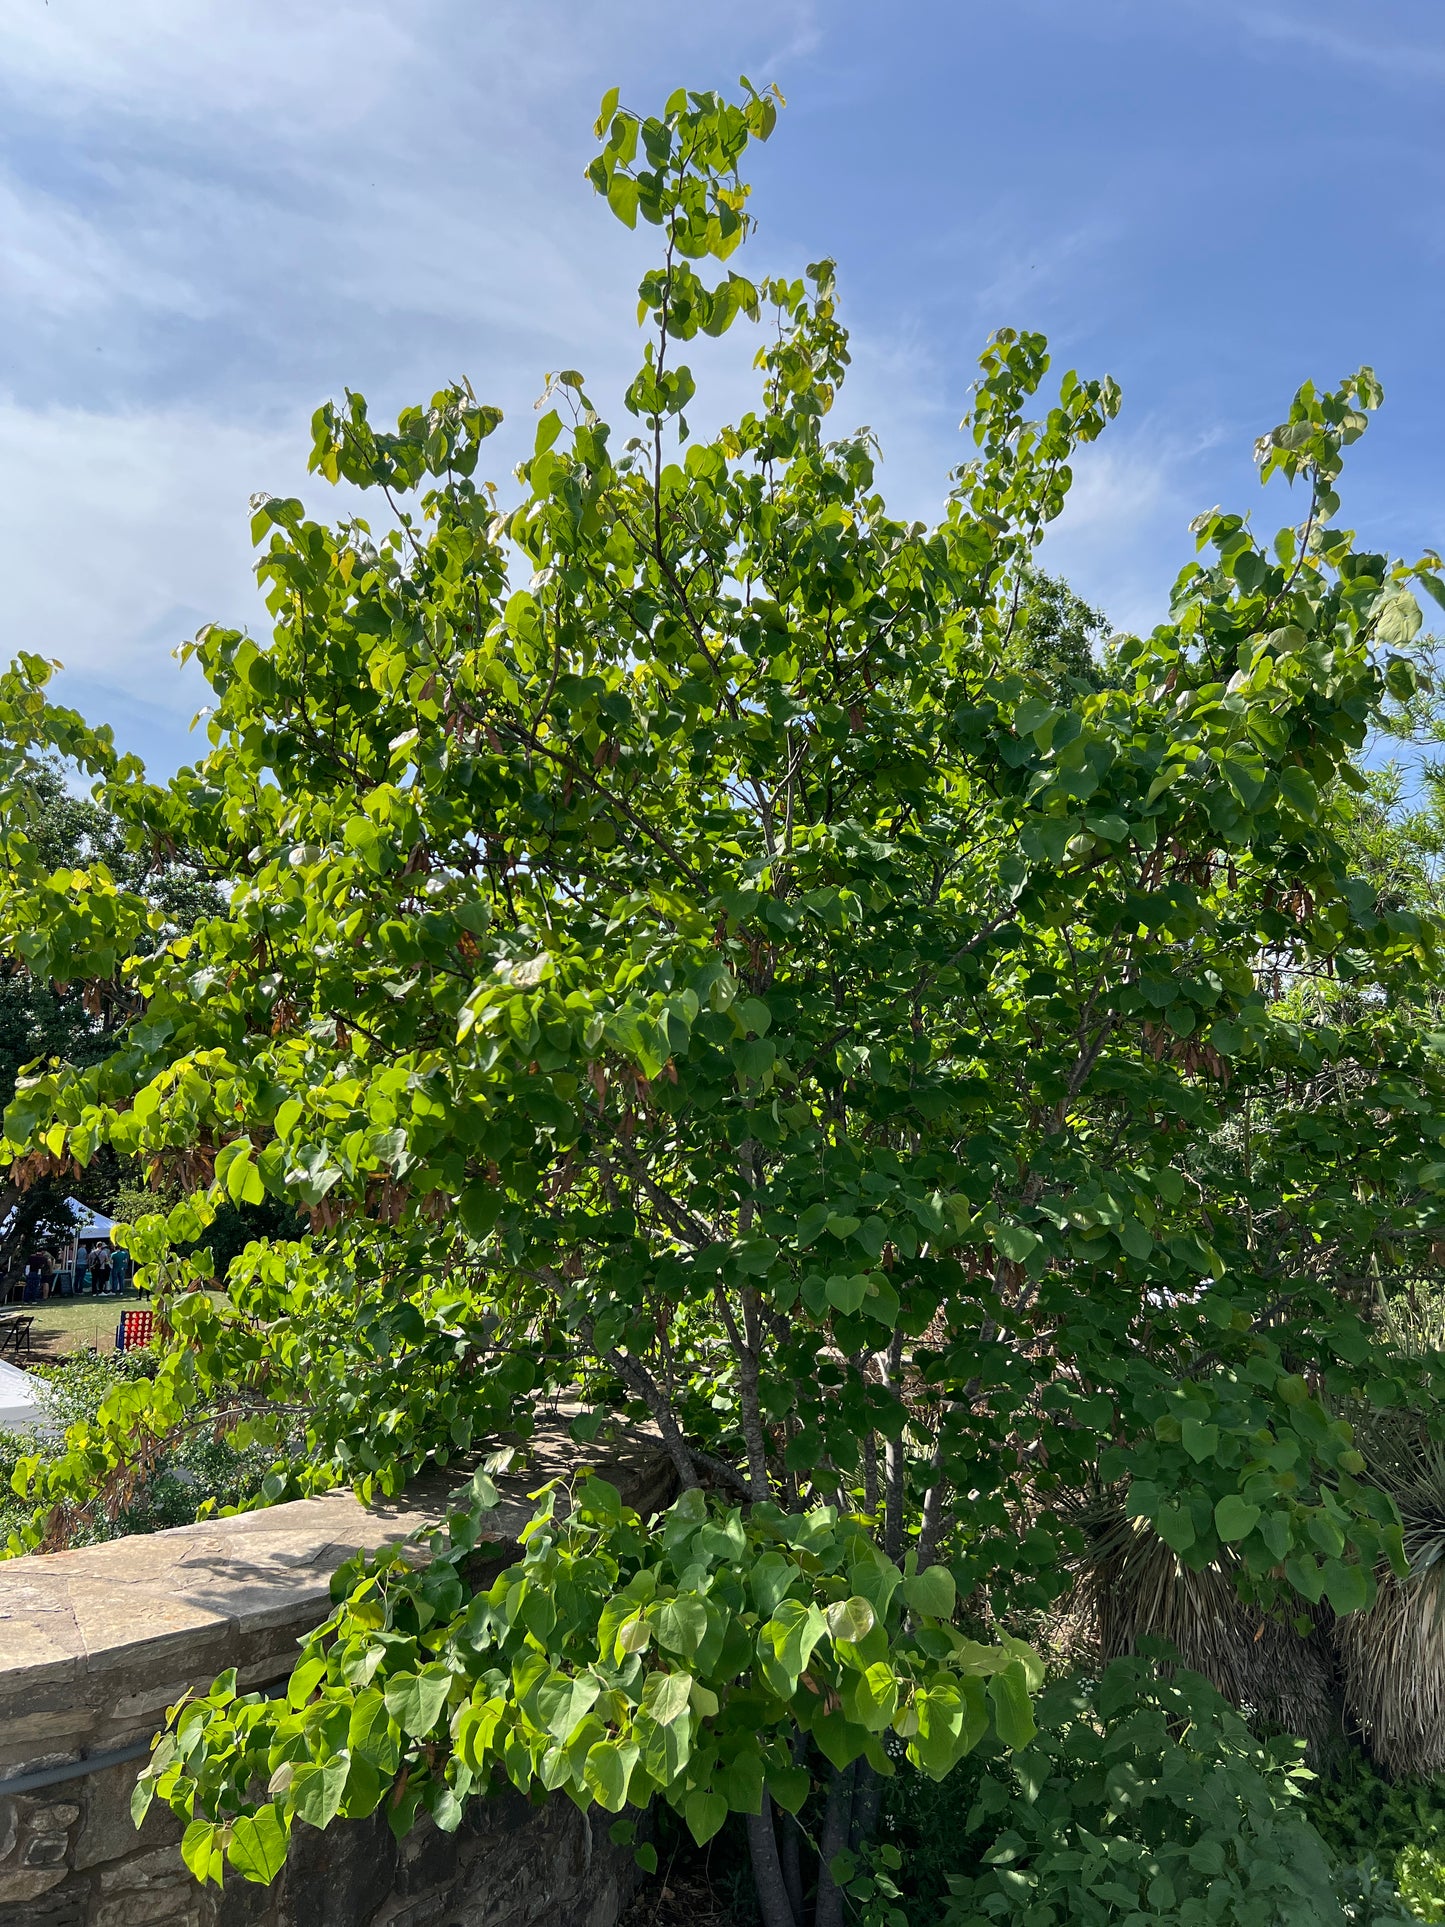
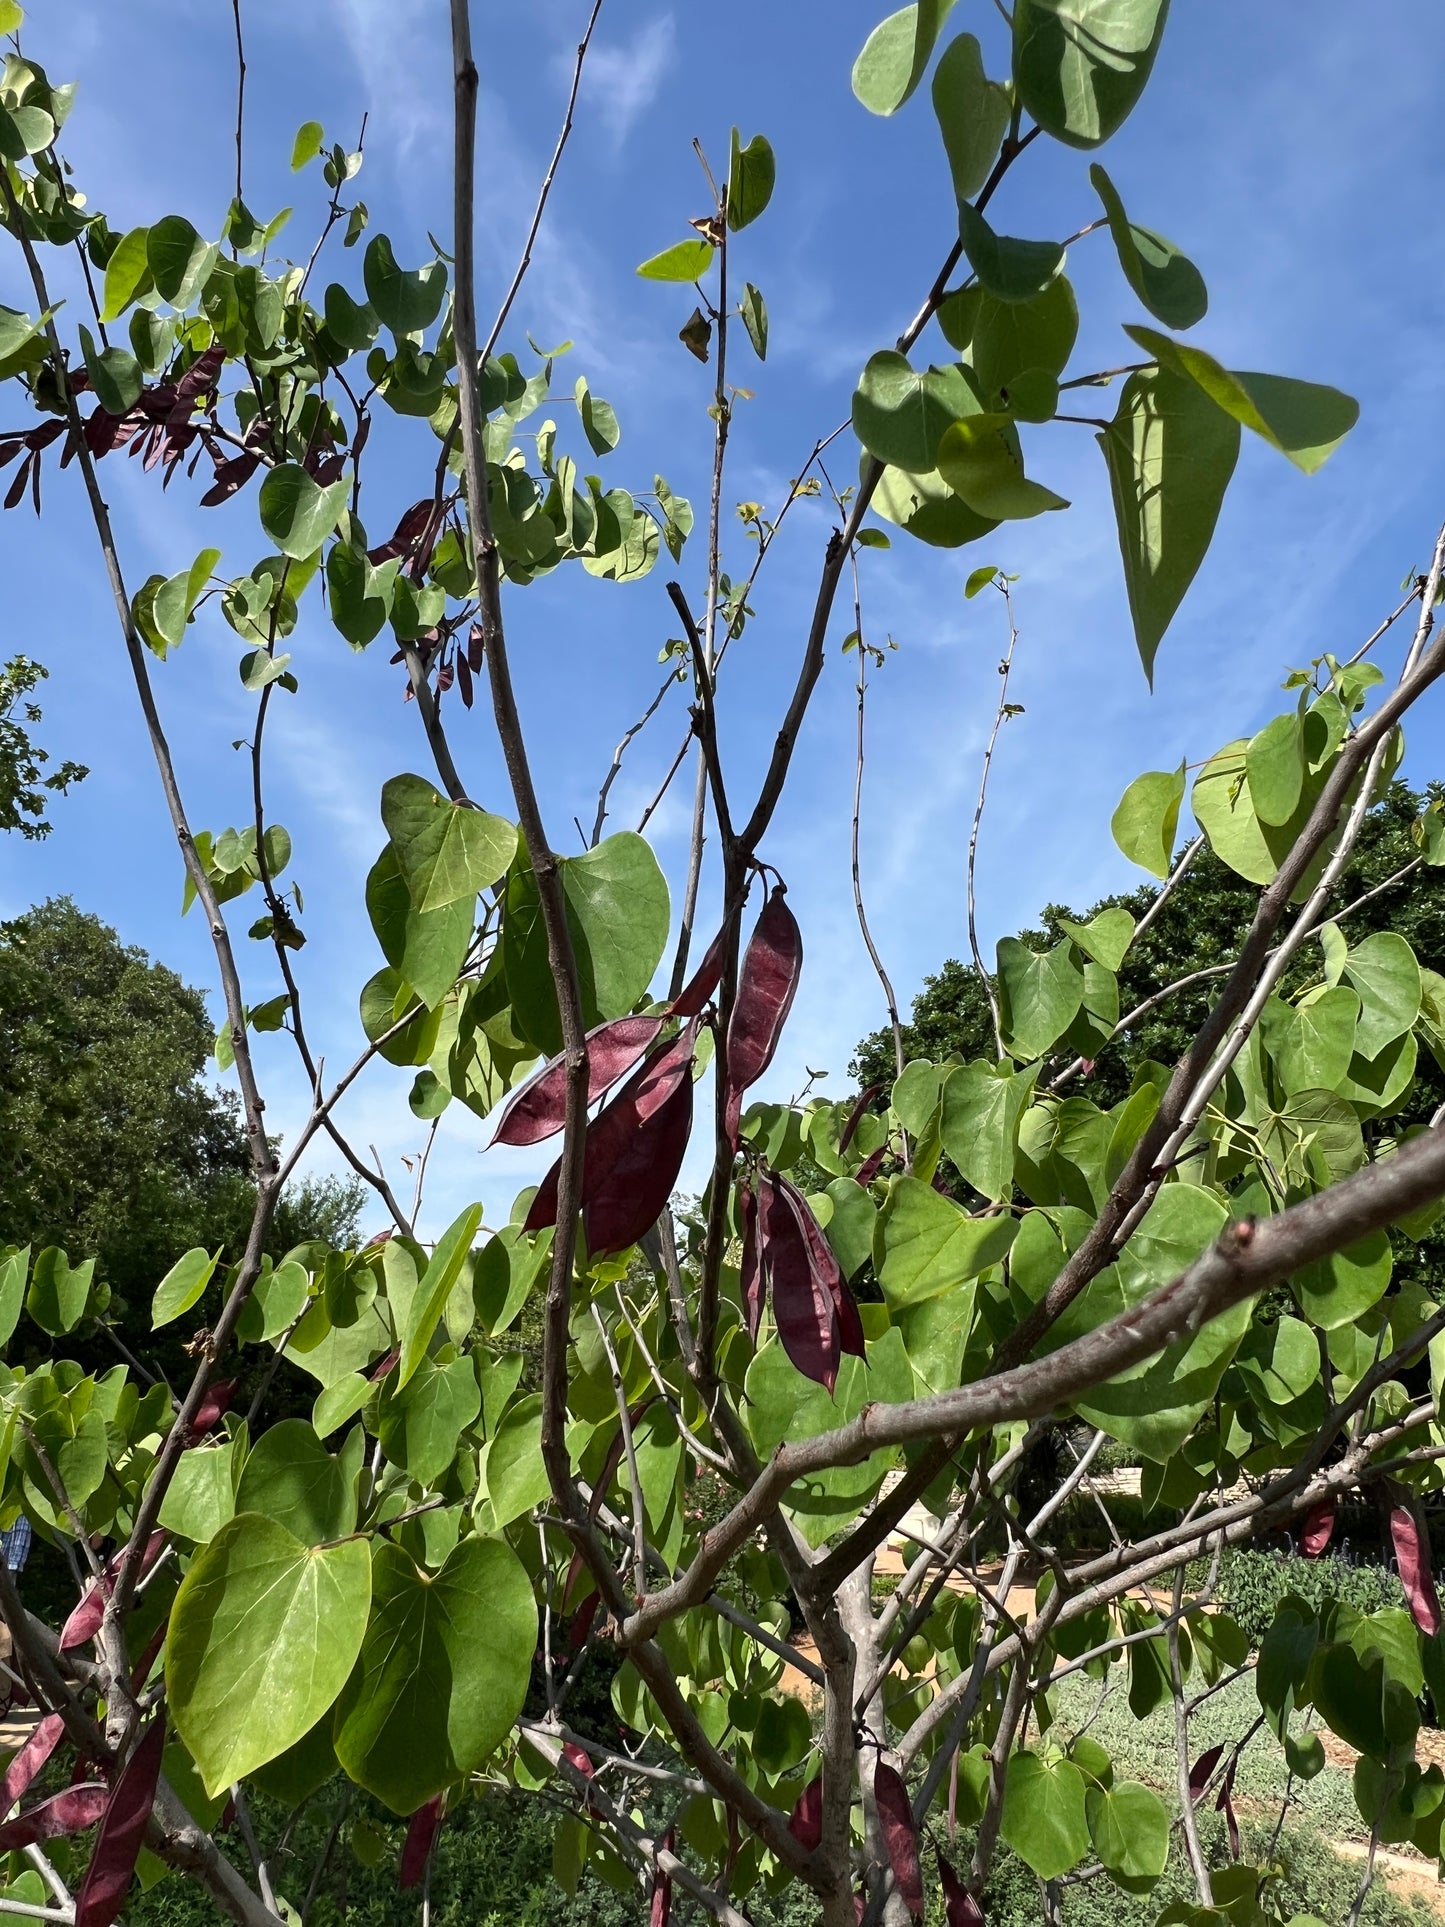
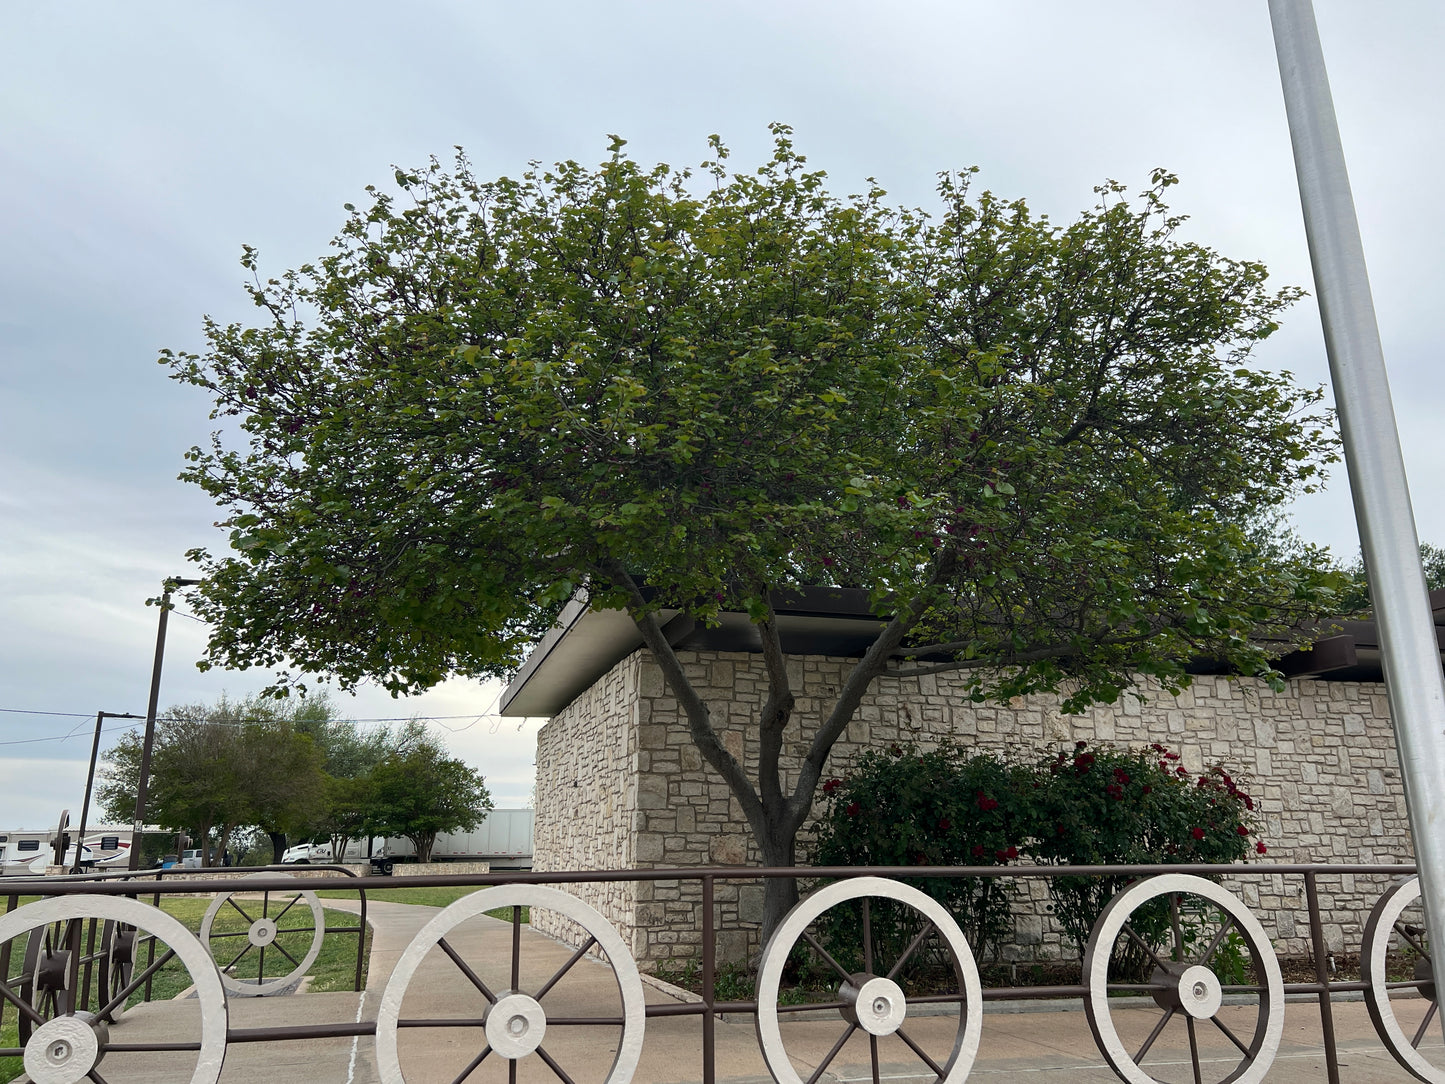
Foliage: The Texas Redbud has thick, glossy, dark green leaves that are often smaller and more rounded than the leaves of the Eastern Redbud. In the fall, the leaves can turn yellow.
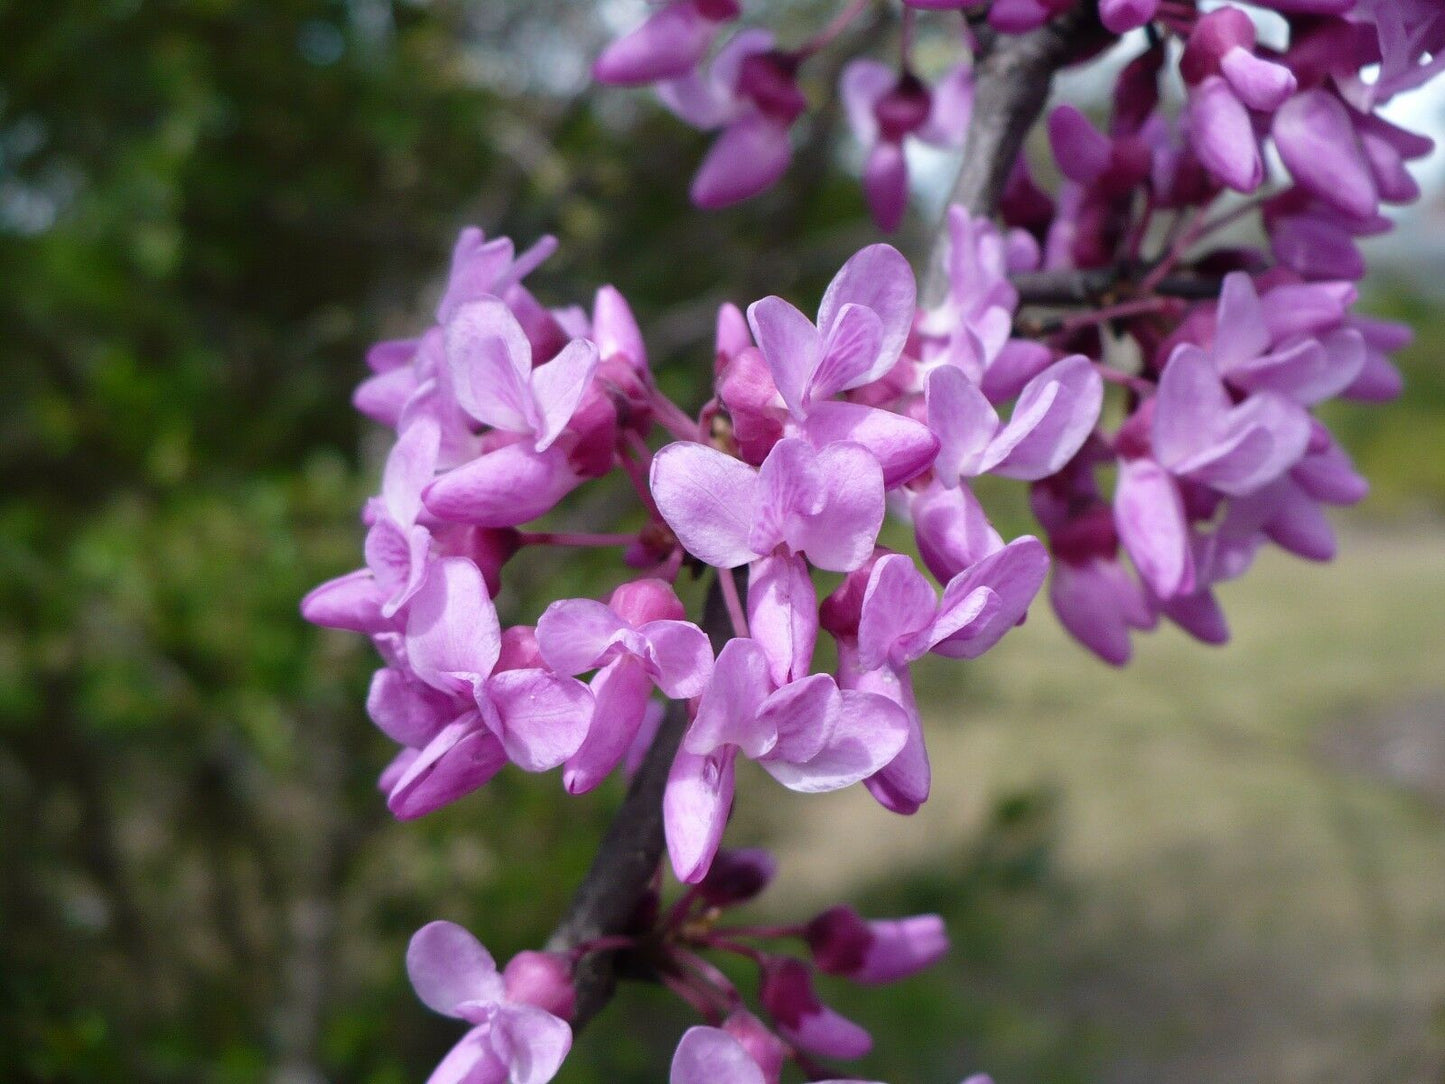
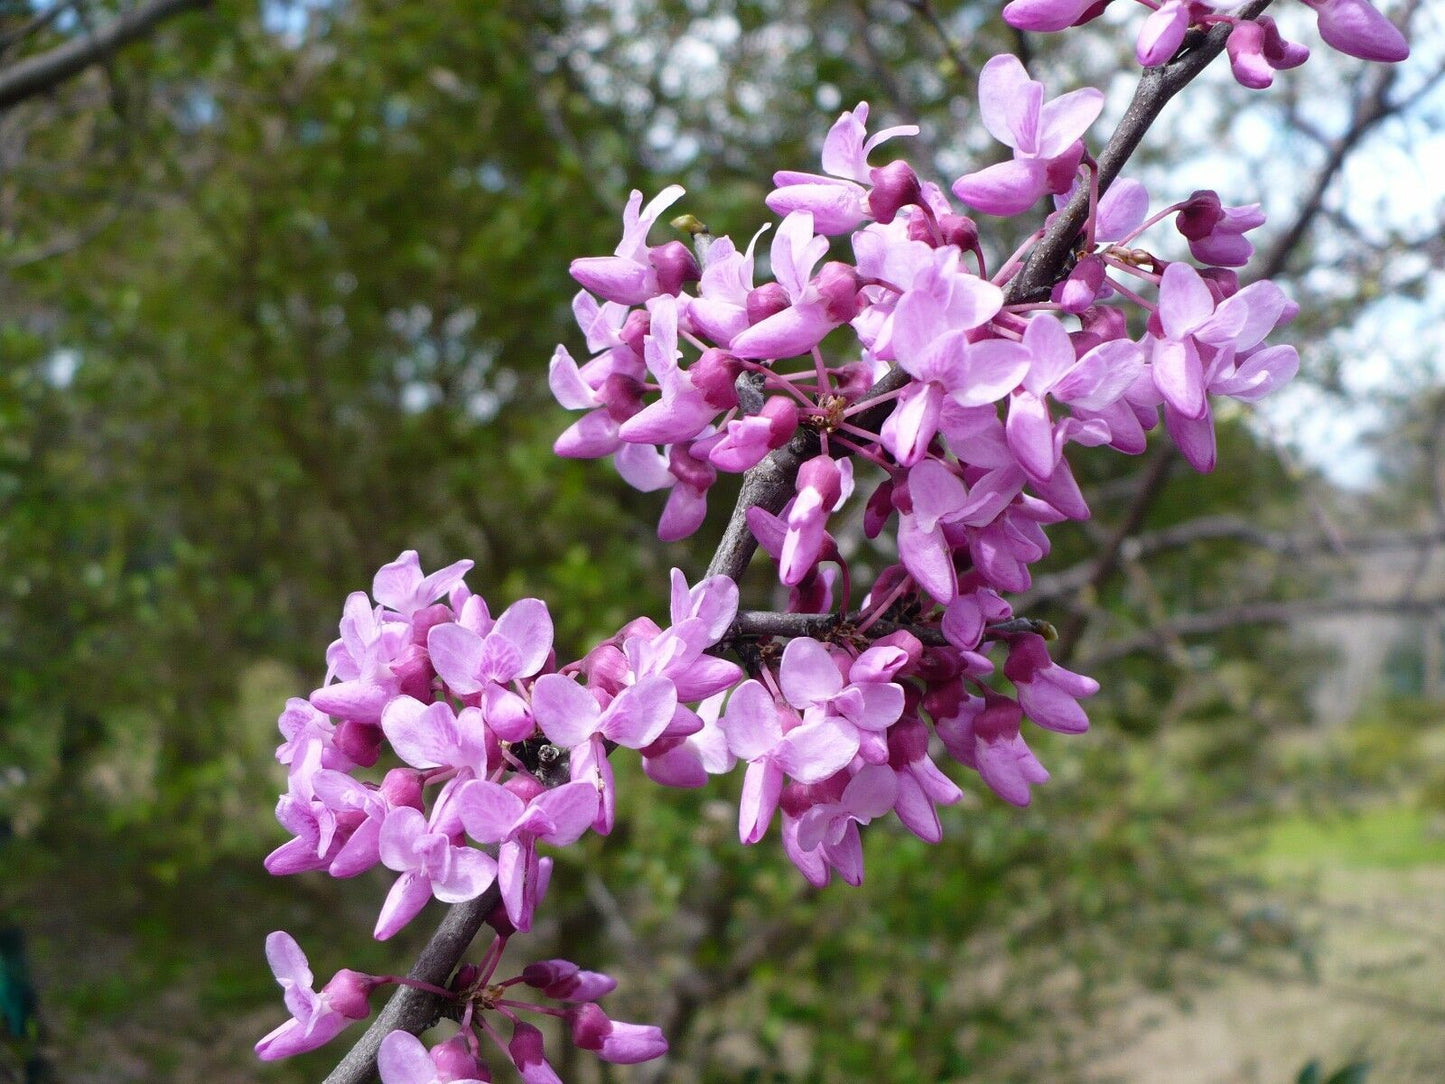
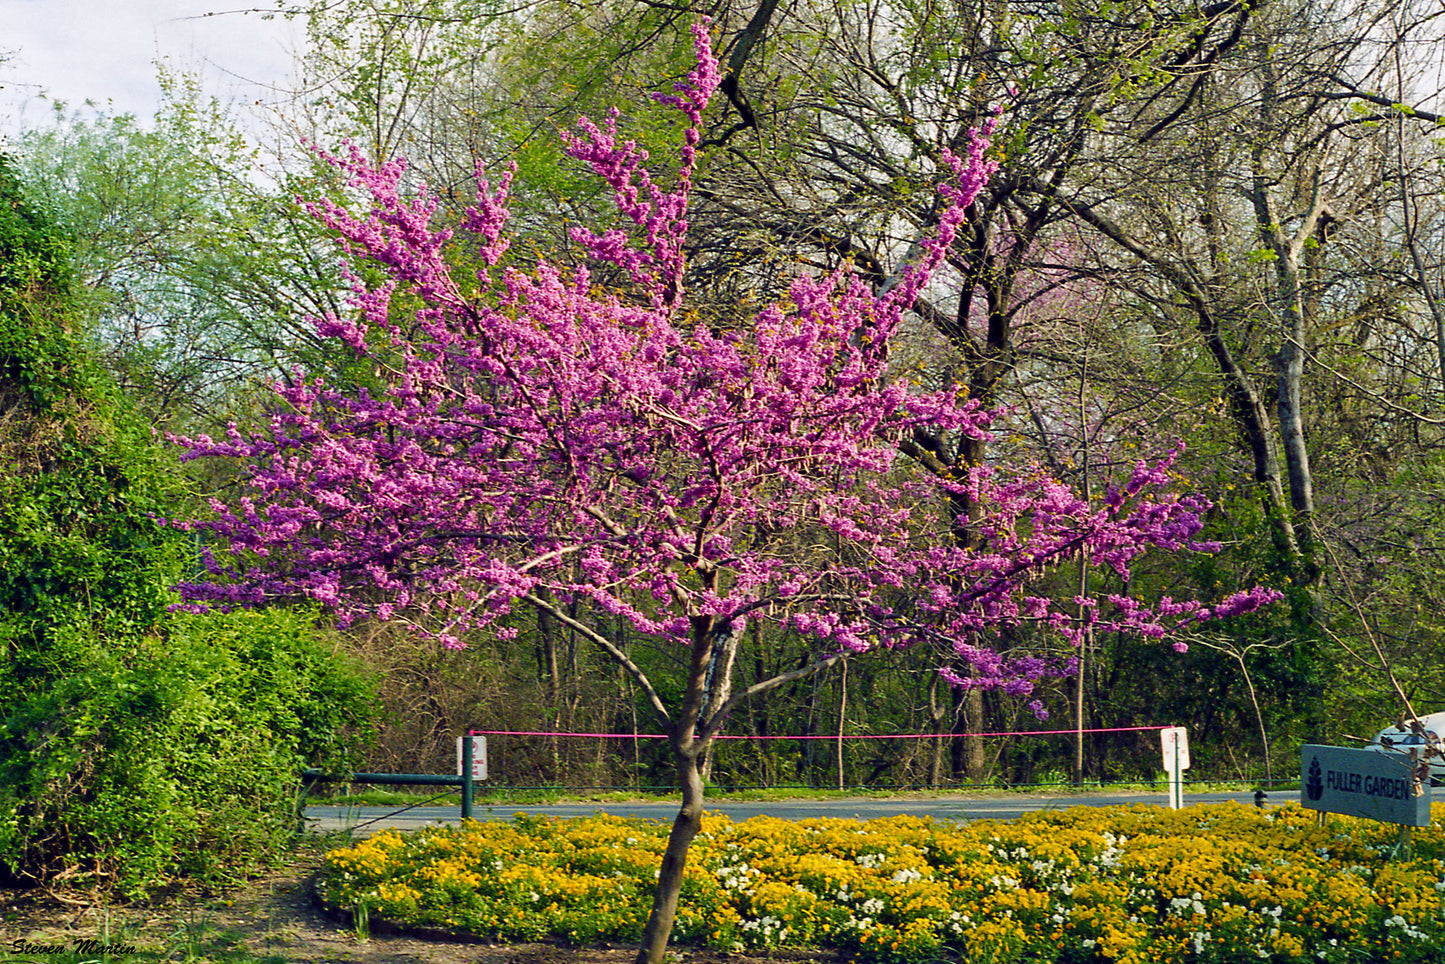
Flowers: It produces vibrant, pinkish-red to magenta flowers that bloom in early spring, before the leaves emerge. The flowers are pea-like and grow in clusters along the branches and sometimes even on the trunk.
Growth Habit: This variety typically has a more compact and rounded form compared to other Redbuds. It often grows as a small tree or large shrub.
Height: It usually reaches a height of 10 to 15 feet (3 to 4.5 meters) and a spread of 10 to 15 feet.
Habitat and Distribution
Native Range: As its name suggests, the Texas Redbud is native to Texas and Oklahoma. It is well adapted to the conditions of these regions, including the heat and drought.
Preferred Soil: It thrives in well-drained soils and can tolerate a range of soil types, including sandy and rocky soils.
Landscaping: Due to its attractive flowers and manageable size, the Texas Redbud is a popular choice for ornamental planting in gardens and landscapes. It can be used as a focal point, in mass plantings, or as part of a mixed shrub border.
Wildlife: The flowers attract pollinators such as bees, and the seeds can be a food source for birds.
Advantages
Drought Tolerance: This plant is particularly valued for its ability to withstand dry conditions once established, making it suitable for xeriscaping.
Ornamental Value: Its striking flowers and attractive foliage make it a visually appealing addition to any garden.
Materials
Materials
Shipping & Returns
Shipping & Returns
Dimensions
Dimensions
Care Instructions
Care Instructions
Share